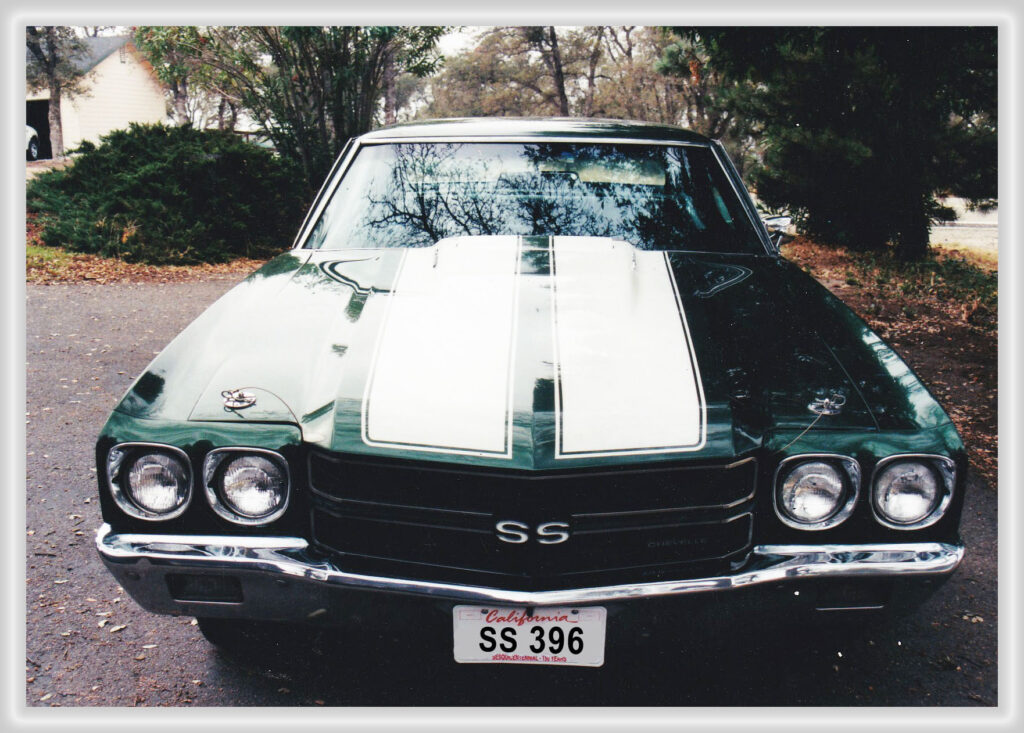
Click on any picture to expand it in a gallery.
Welcome, I wanted a project to learn how to build a website on wordpress, so why not on a Chevelle restoration project that I did years ago. About 30 years ago when the muscle cars where booming in popularity and prices, found this car in modesto Ca. for sale from a kid getting married. since then I’ve learned a lot about this car. I learned what was important about muscle cars as tore it down, the first thing was, is this a matching numbers car, The car was in really good shape and they where getting harder to find so I bought it not knowing, Turns out it was, a big plus.
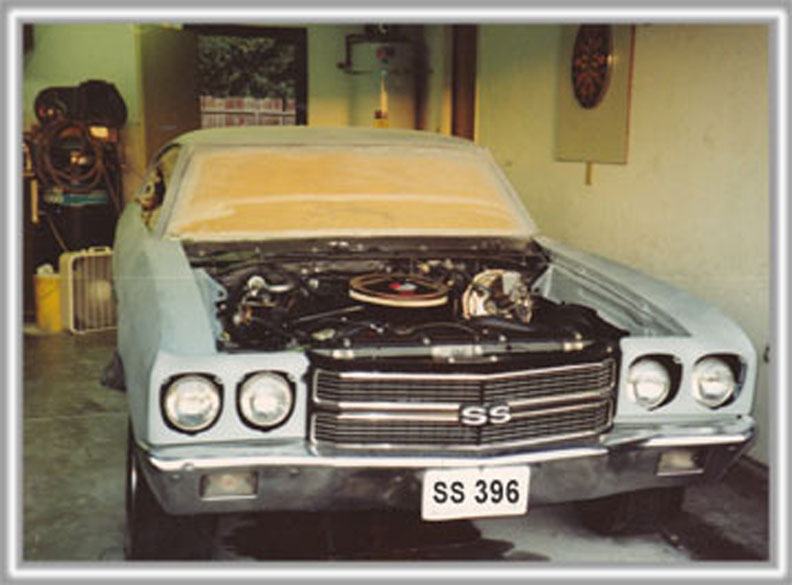
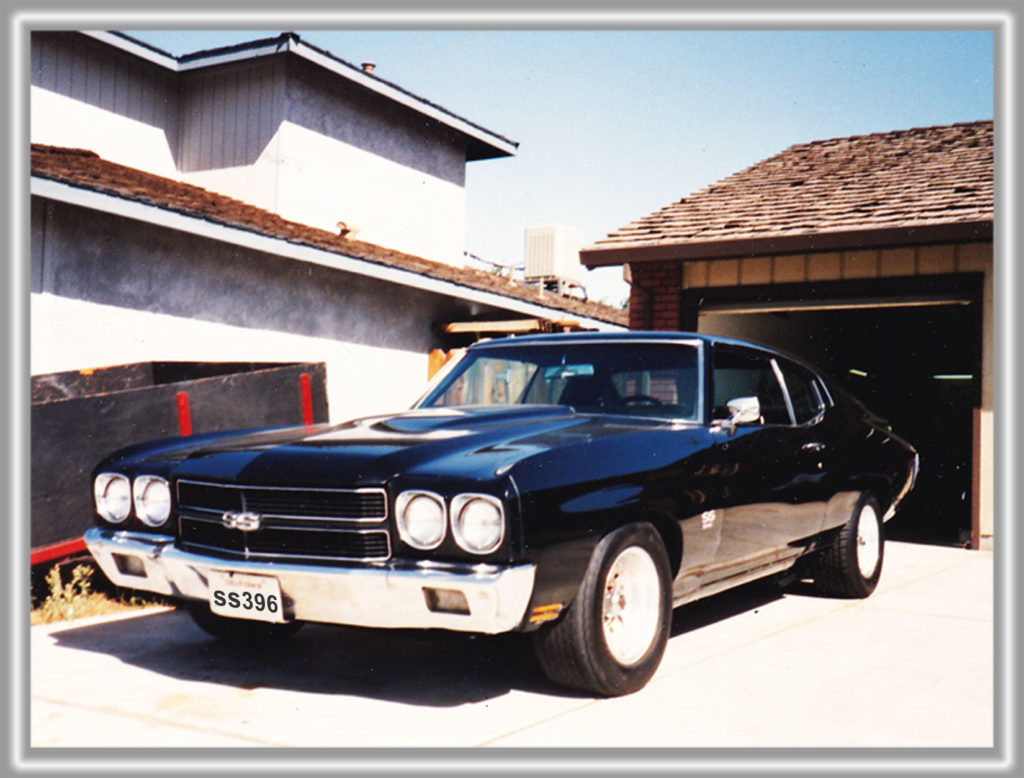
This was the chevelle when I bought it, The condition was good, and the whole car itself was pretty solid. It had a few dents, just a little tip, I took a refrigerator magnet with me when looking at cars, if there is bondo or other filler on the car, the magnet will not stick and that will give you an idea of the condition of the body. This car had very little body work.
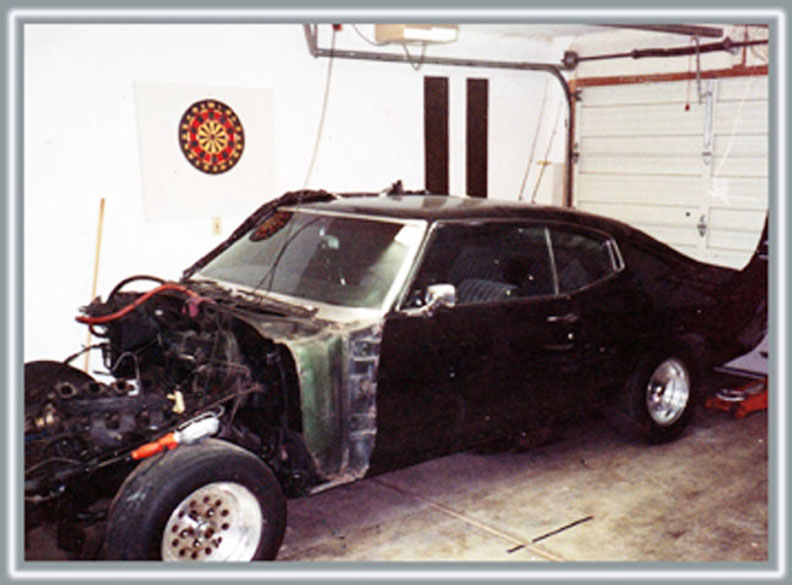
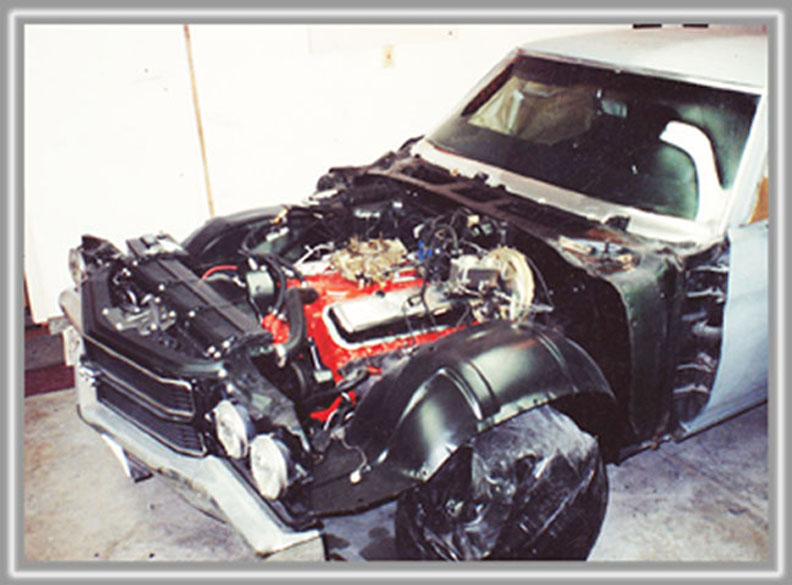
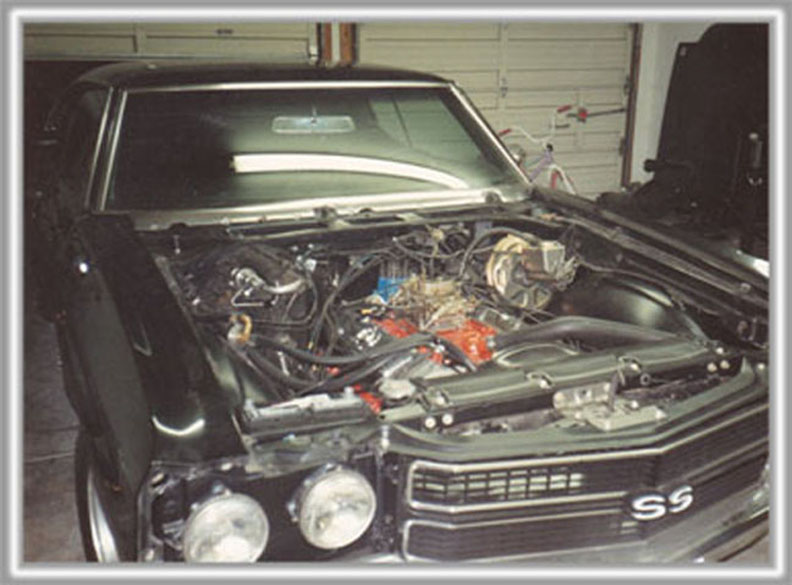
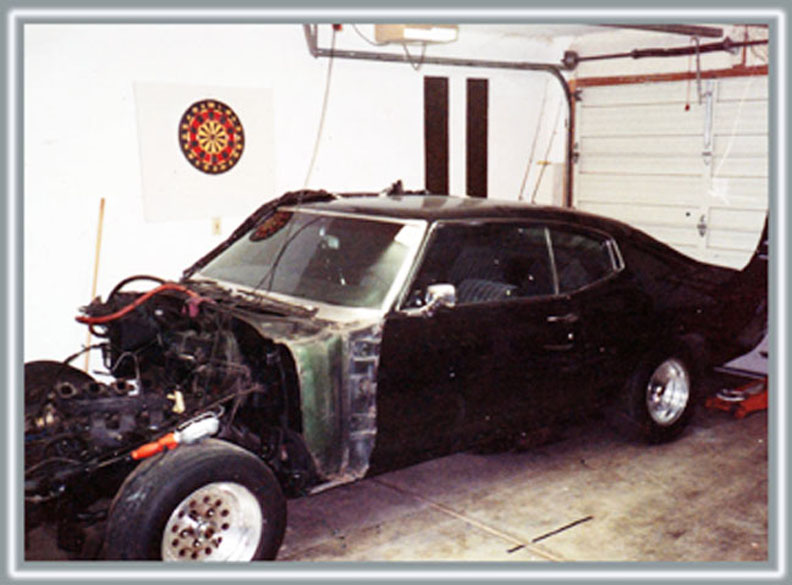
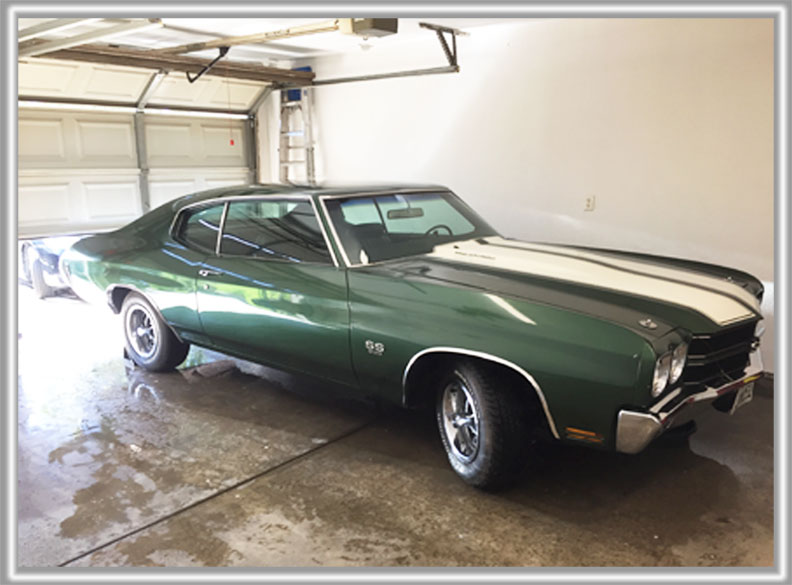
So before checking the trim tab for paint, interior, ect… I started tearing it apart, I knew a guy in Salinas that had a 70 forest green chevelle with white strips, always wanted one, Once the fenders were removed you could see that the car was indeed forest green. the trim tab on the firewall had also confirmed it. This was my first restoration so I decided to detail the engine engine department first.
Tearing down the engine department was a lot of work, but the results really show how much more detailed it looks when your done. I found the paint formula mix for the inner wheel wells and the rest of the engine compartment online, I put the fenders in place to get to get an idea of how will look done. I would recommend painting the fenders and the hood off the car,
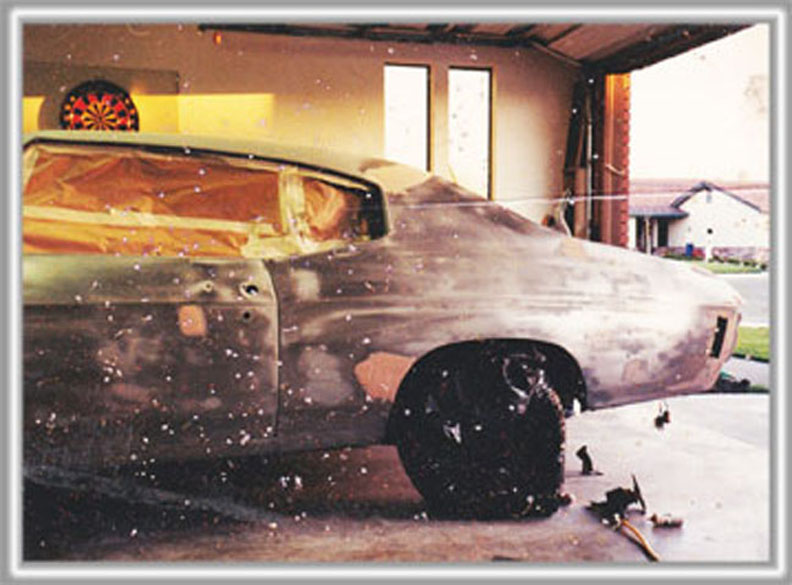
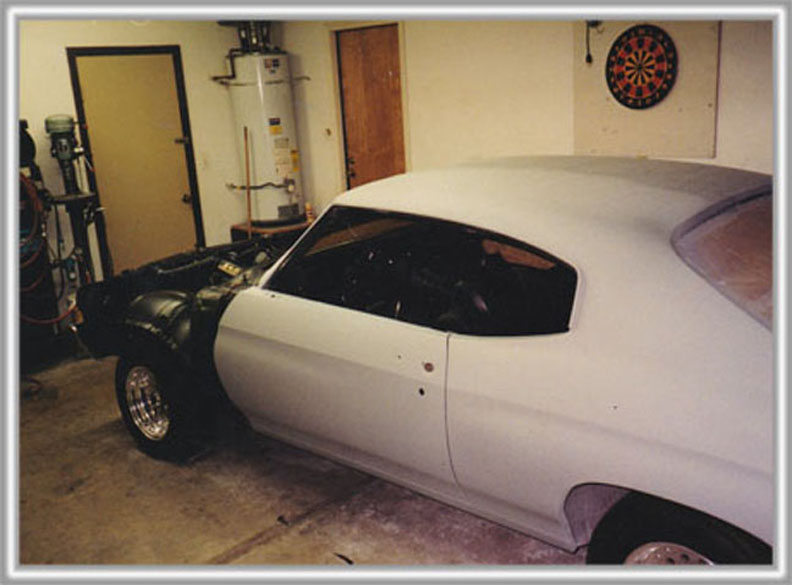
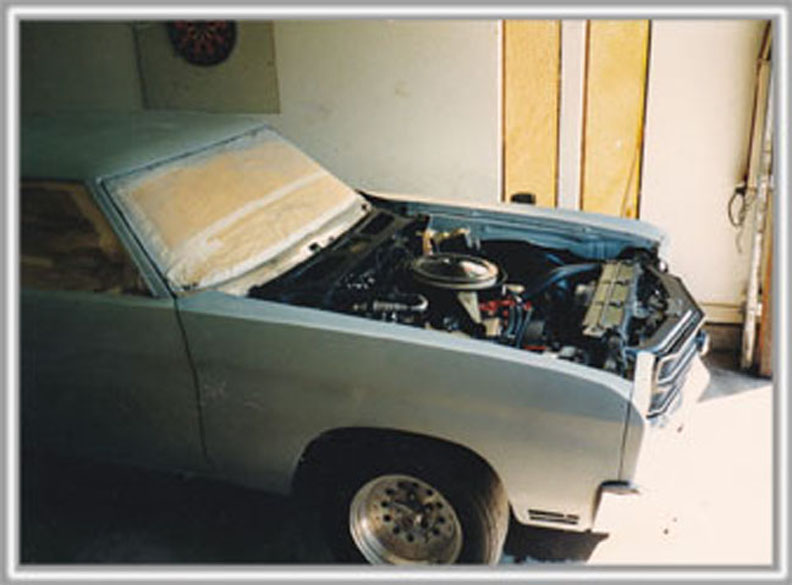
Now it was time to tackle the body work, The spotty picture on the left was near my welding stick at one time, The car was painted enamel and I wanted to use lacquer paint, I believe you can paint enamel over lacquer but not lacquer over enamel so I used paint remover take it down to the metal, very messy, The whole body down to the metal was in this condition. This was the first paint job I ever did, I learned the hard way, by experiance, you can save alot of time by reading or watching videos on how to do body work. the proper tools help alot.
When I restored this car there were alot of chevelles available at pick-and-pull, the junk yard, I saved a lot of money on parts, I don’t think your gonna find them now, but there are so many on-line companys now that sell after market chevelle parts, JEGS, Ground Up, SS 396.com, just to name a few.
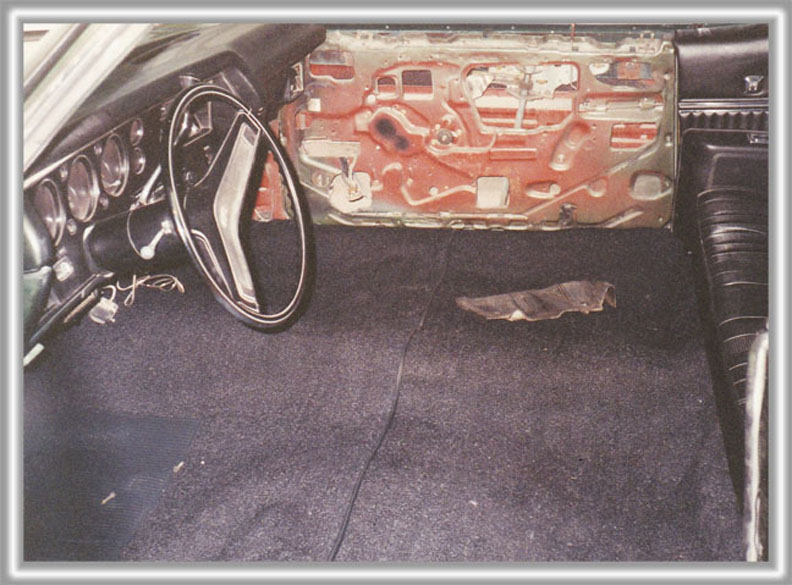
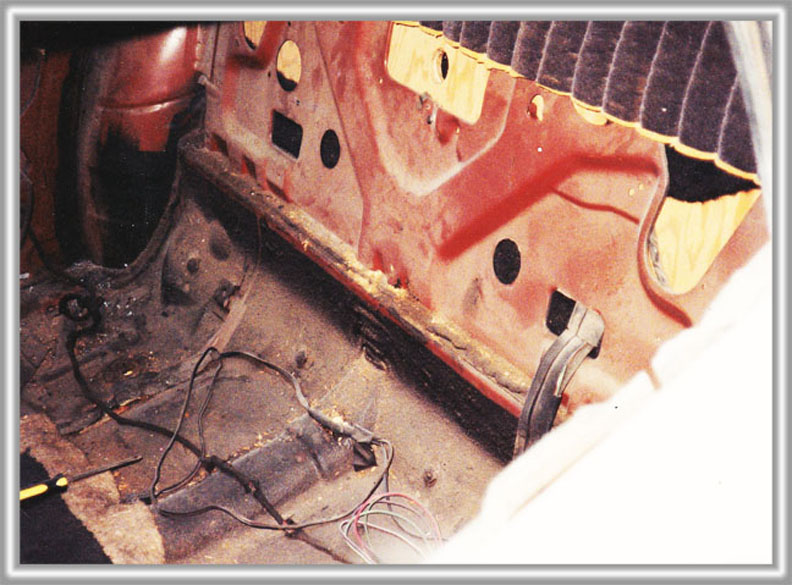
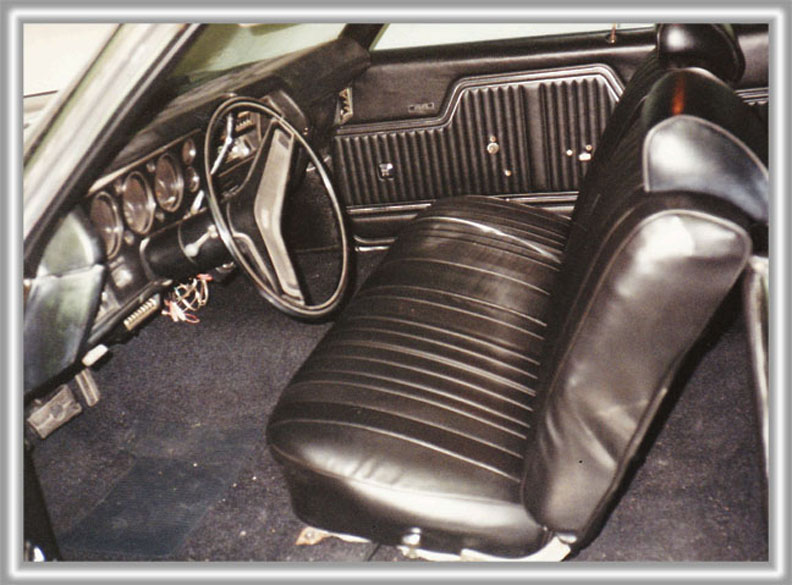
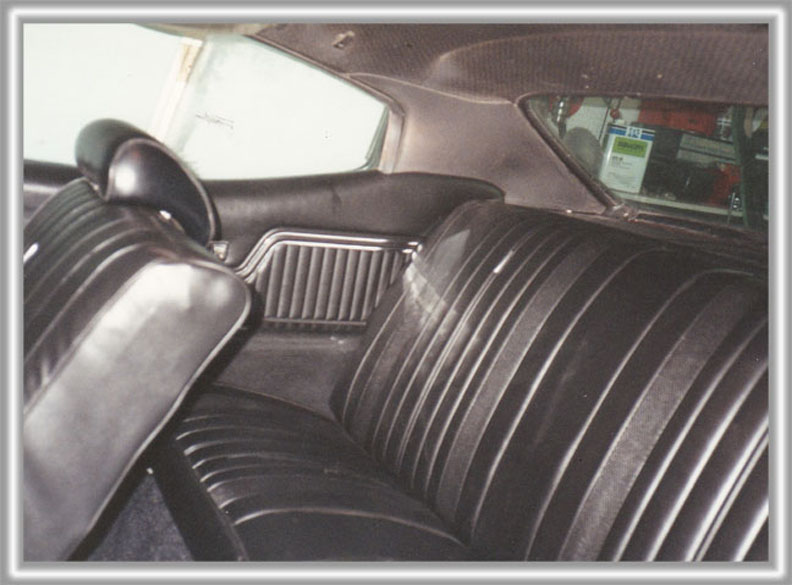
I picked up the interior parts after the body work and primer was done, so I decided to do the interior prior to paint, seeing how everything had to come out. I replaced the carpet, front and back panels, and put stock seat covers on, was it perfect ? the panels were, but the seat covers where a little lumpy on the sides, no problem it was a vast improvement. As you can see it had a bench seat with a column shifter, not the most sought after combination, better known as a grocery getter. It also has a lot of options, like power steering, power brakes, power windows, A.C., so the bench seat is fine with me.
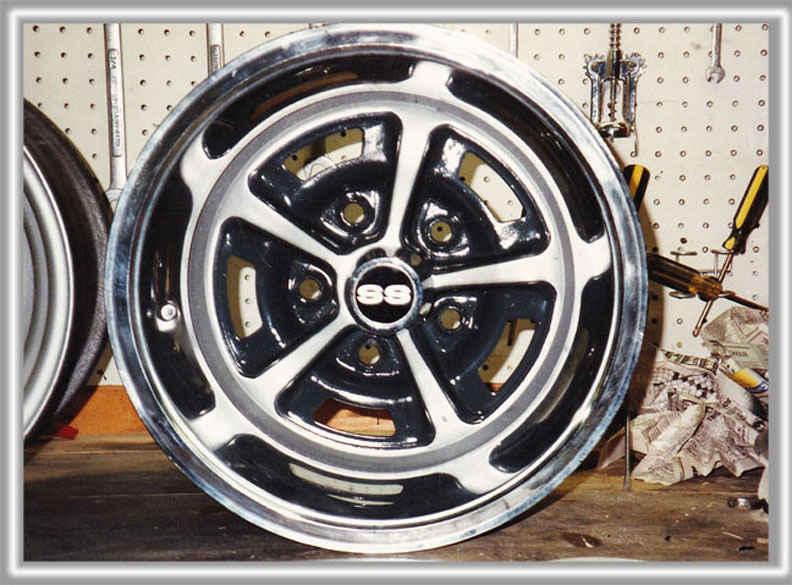
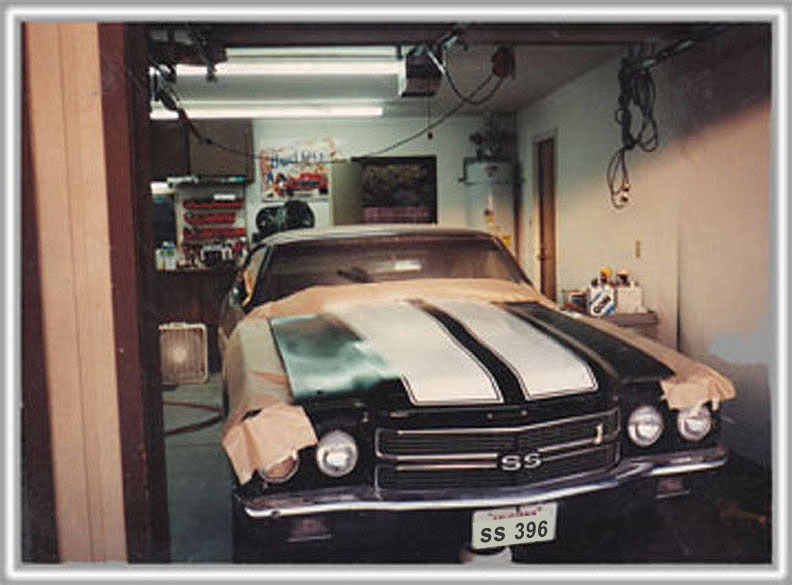
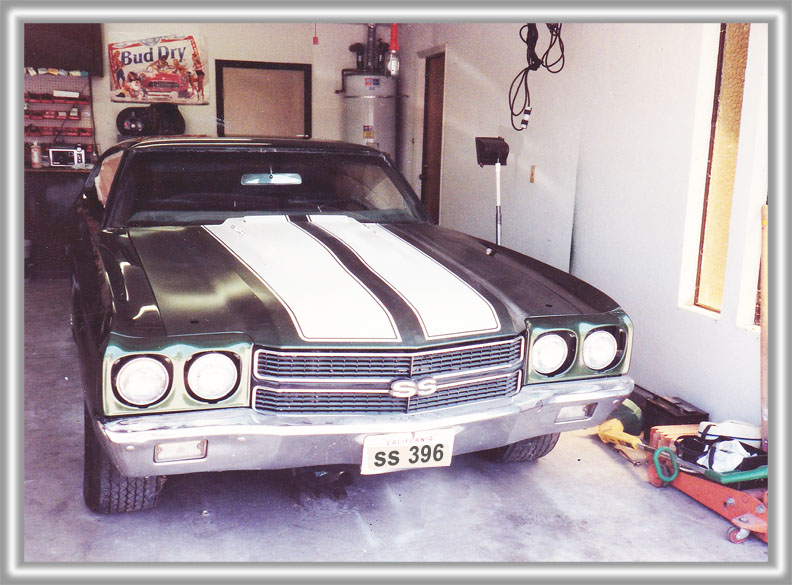
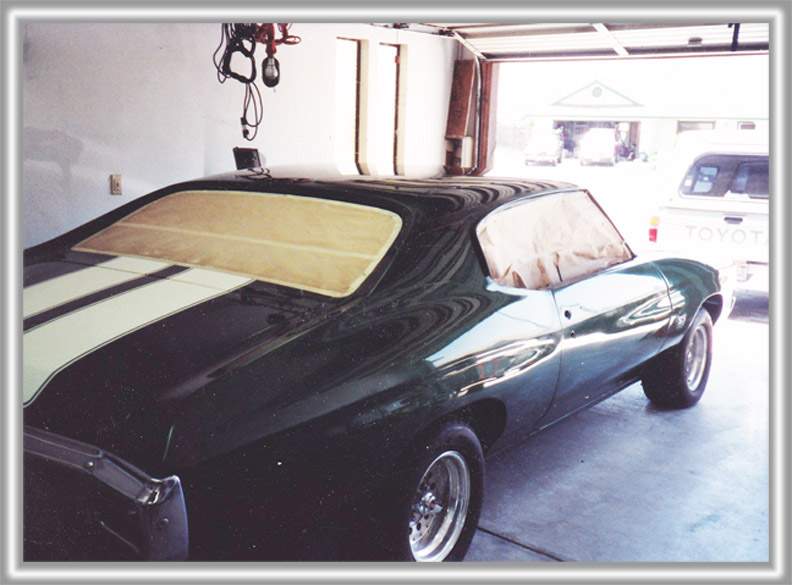
I found 4 original wheels dated and coded for $80 at the Pleasanton fair grounds swap meet years ago, found the original paint colors, painted them and bought new center caps and beauty rings, wala, like new. The top right picture was after I painted the green and bought a stencil and put on the strips, then put a whole lot of clear coat, you can see the dull hood this was before the clear was buffed out. The next picture was after buffing, nice shine.
Back when I restored this car everyone wanted the cowl induction hood, the strips, hood pins, from the numbers on the trim tab and the vin tag and the fact that there were holes for the white vinyl top it came with when I sanded it down to the metal, also I added the hood pins, and the cowl induction hood, it had an ss hood as you see in the picture above when it was black. So I was younger when I restored this car and maybe looking back that was a no no, but I plan on keeping the car, so it’s all good.
,
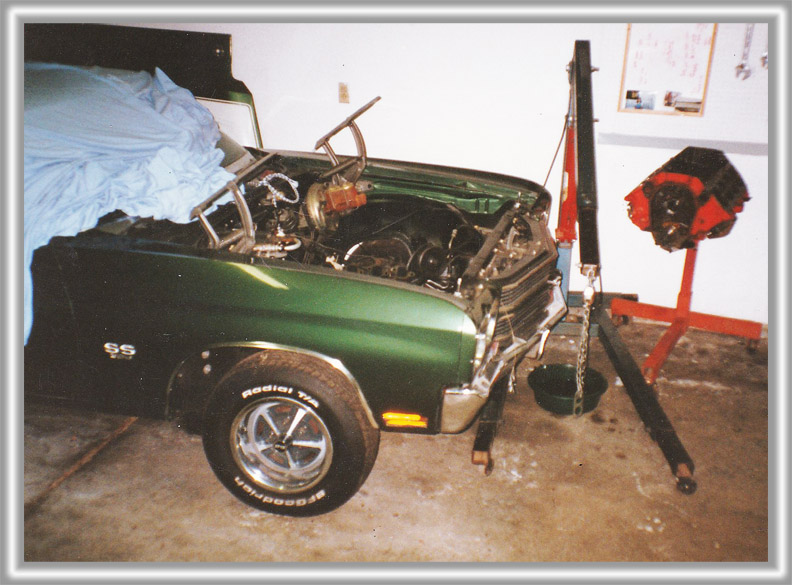
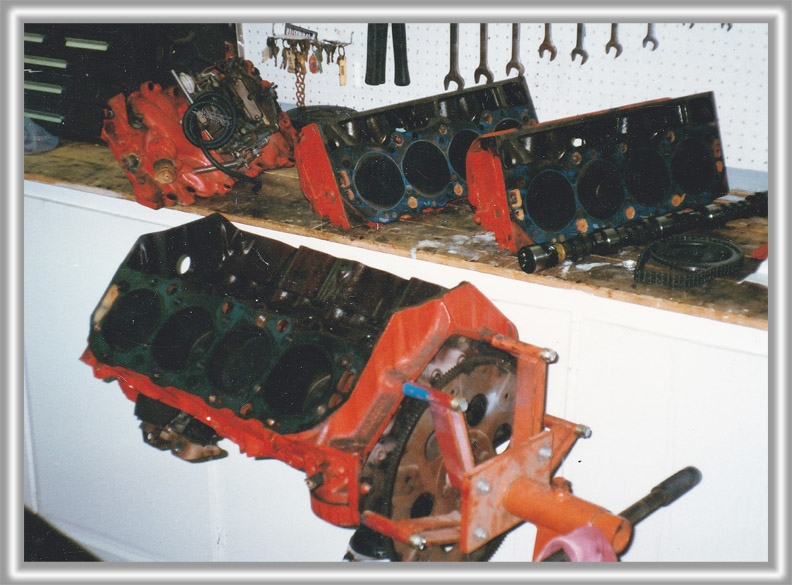
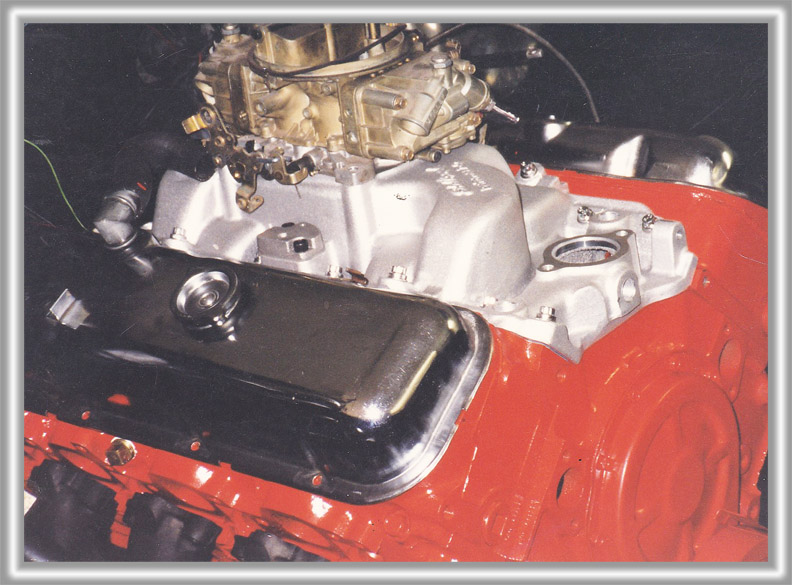
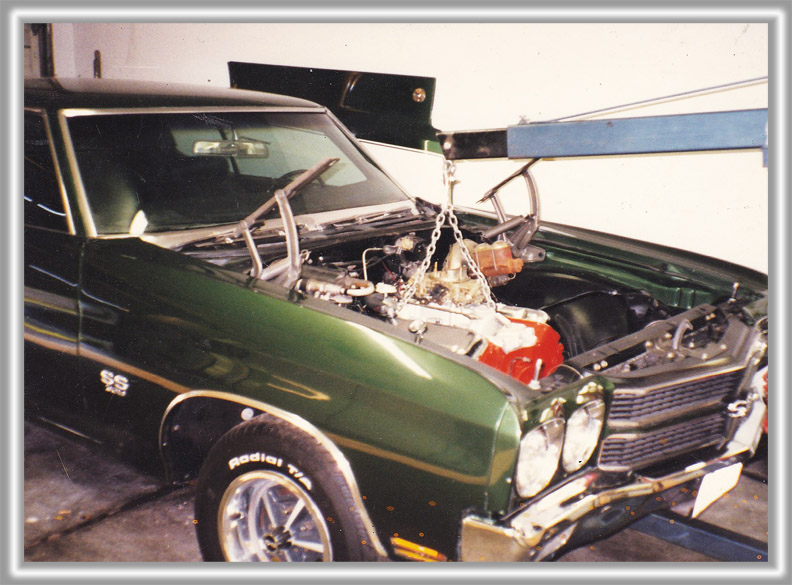
Unfortunatly after I got the paint done and the engine back in there was a knock in the engine, I tried adjusting the lifters, keep in mind I drove this car from Modesto to Manteca and tore it down and this car was old, luckily this motor was only rebuilt once, a matching number block. So I pulled the motor and had preformance machine rebuild it, threw in a semi high rise edelbrock manifold and a 650 double pumper carburator, what a difference even with the stock exhaust, sounds great.
So this was a major job, if you don’t have the tools or the patience be prepared for a rocky road. The big reward was when all was said and done, you stand back and say I did that.
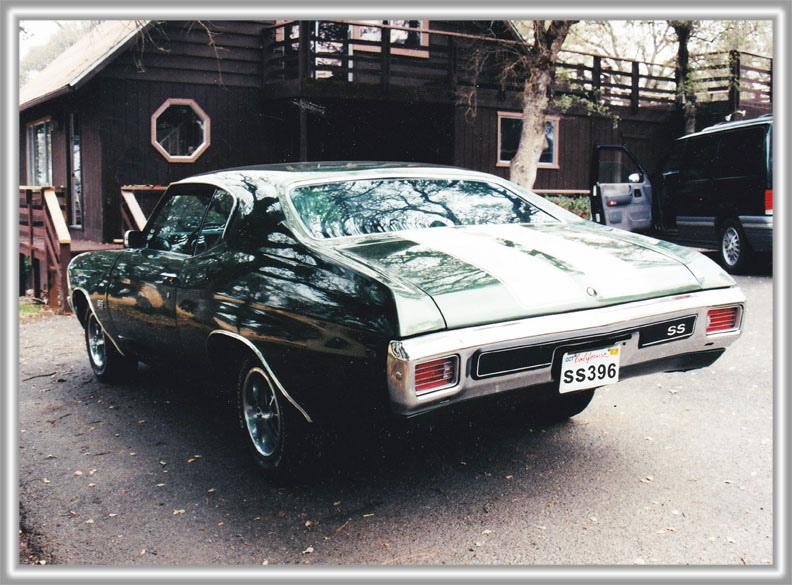
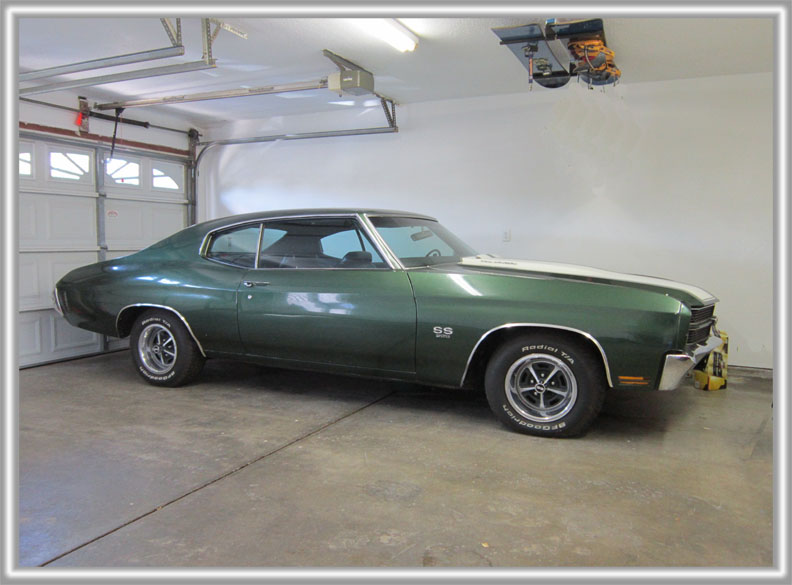
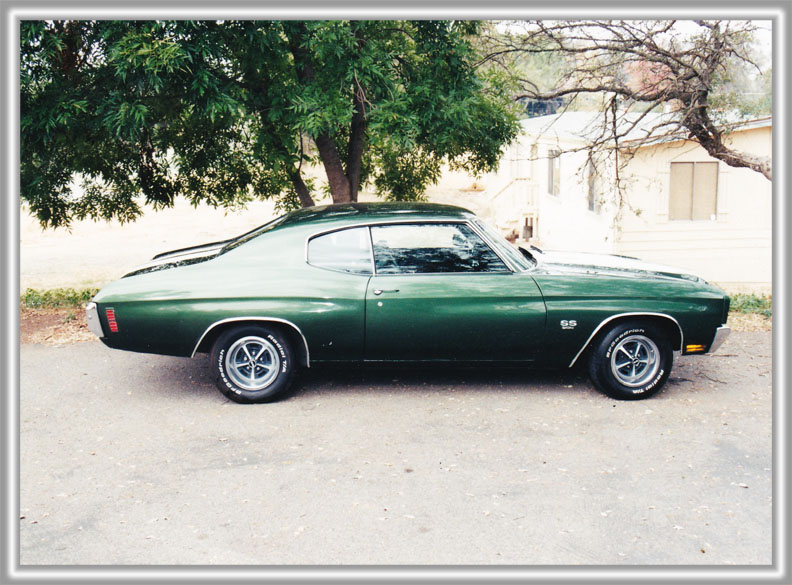

Nice job!